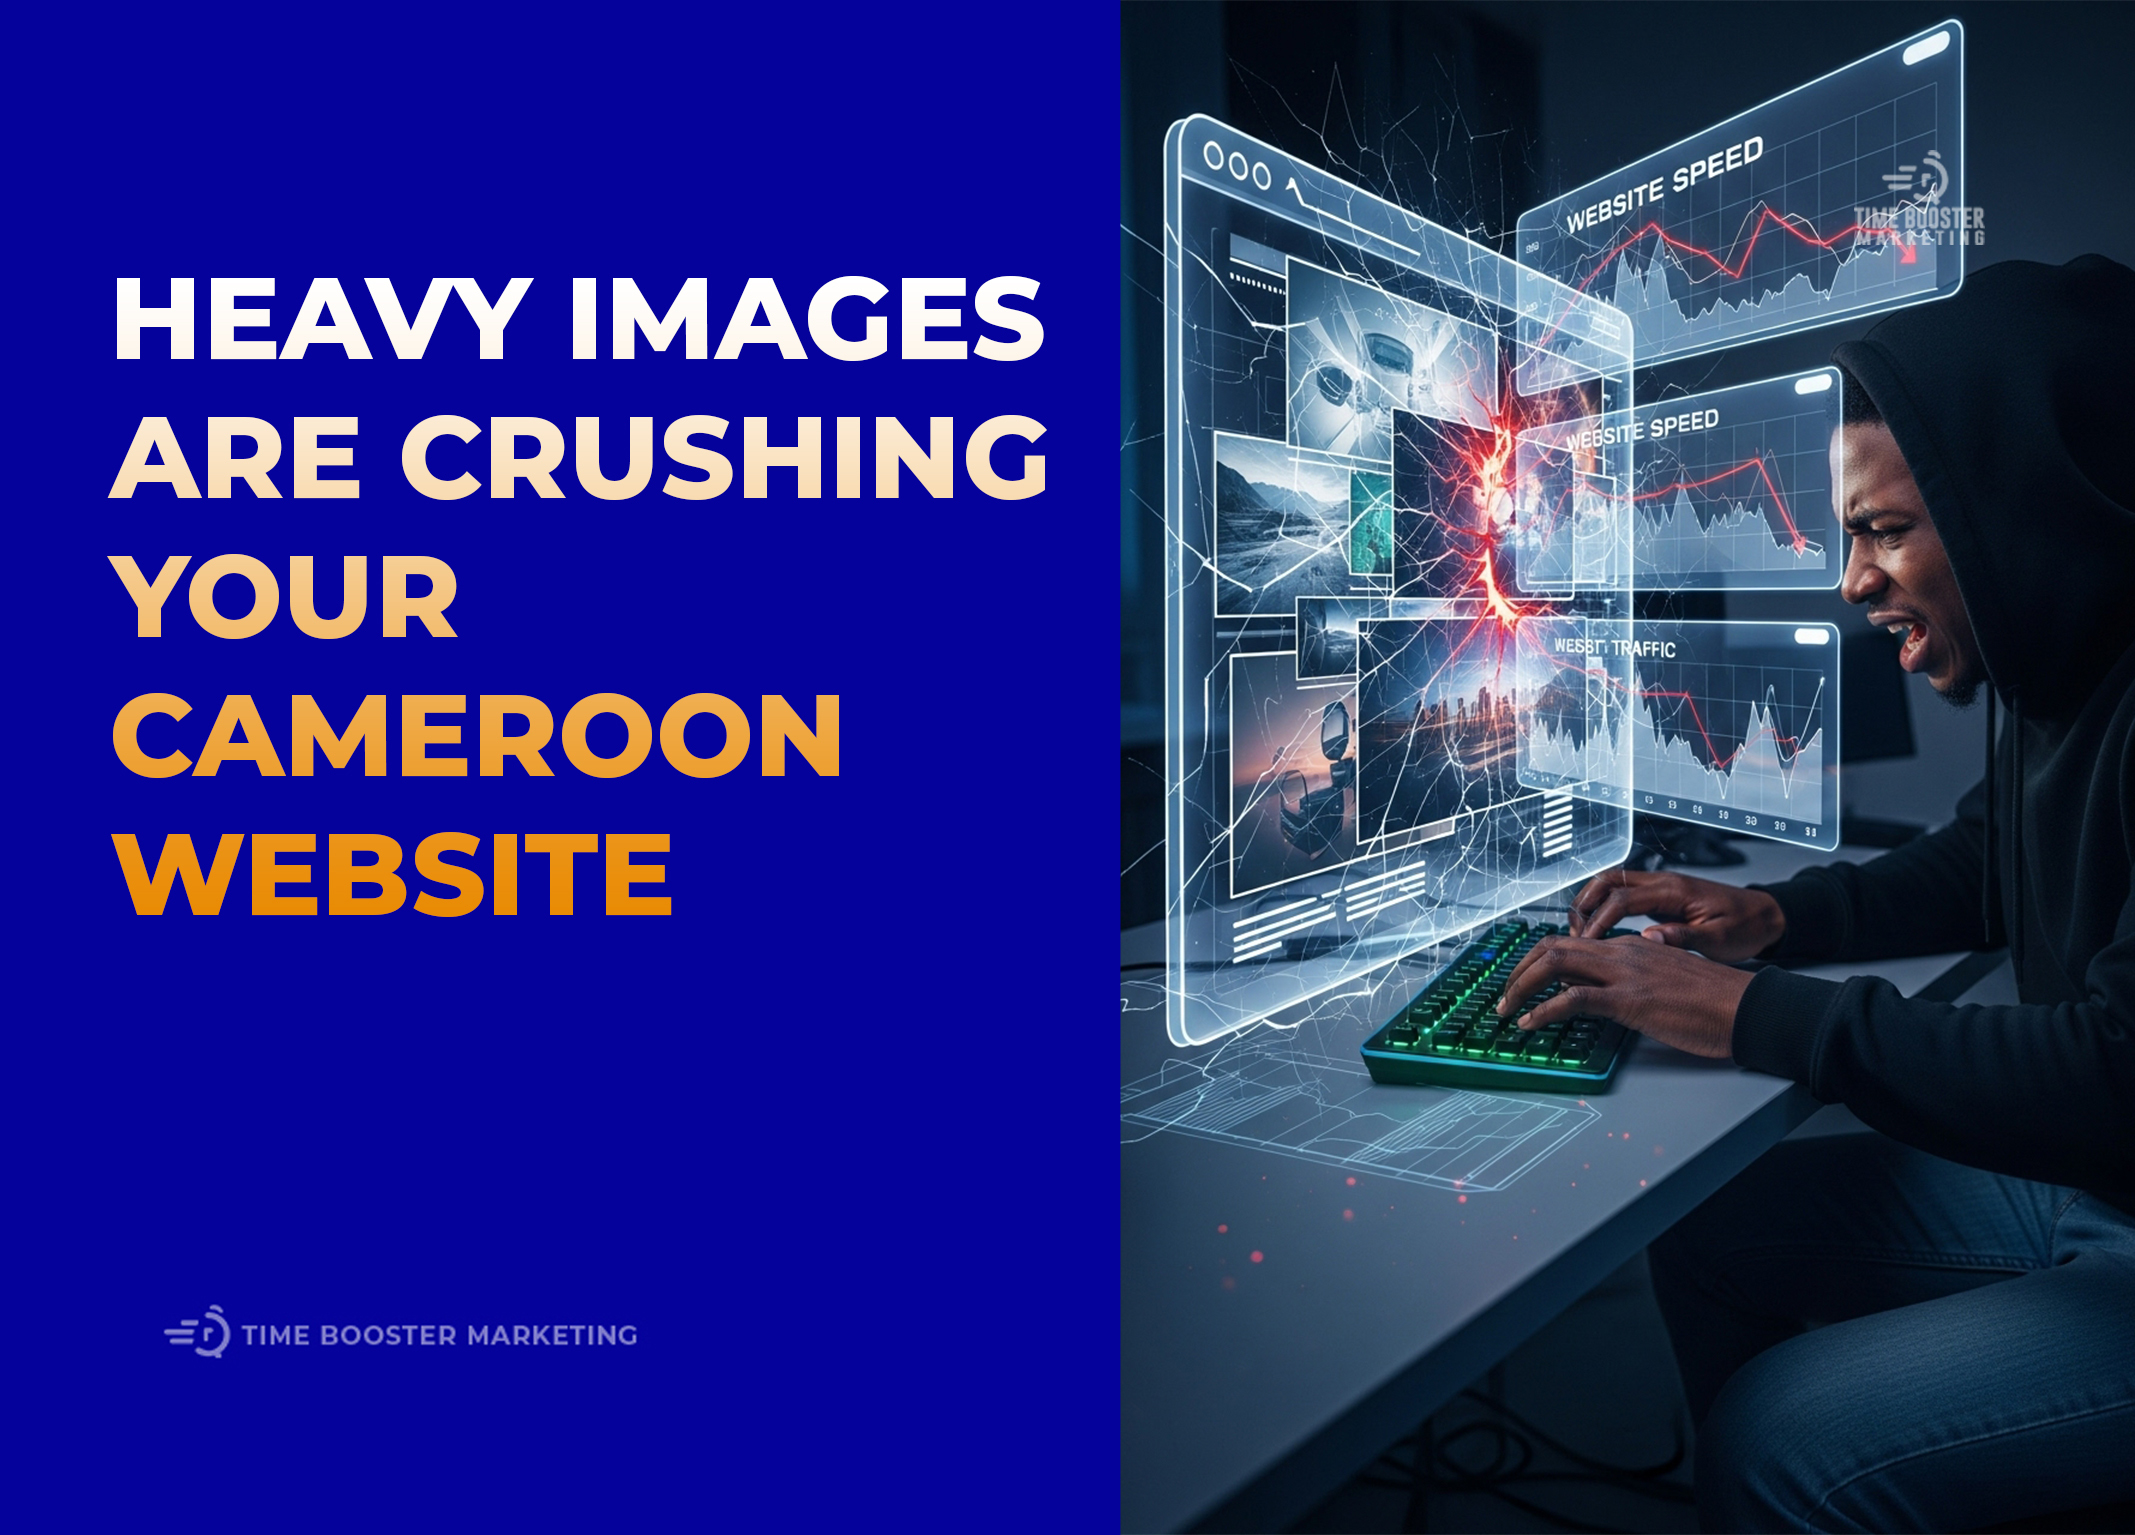
Images are the lifeblood of a modern website. They break up text, engage visitors, and are essential for selling products or services online. For a business in Cameroon, showcasing vibrant photos of your products, your team, or your location is key to building trust and attracting customers. But there’s a hidden danger that many business owners overlook: the size of these images. A beautiful, high-quality photo can also be a heavy, slow-loading file that cripples your website’s performance, especially for users on mobile devices with variable internet connections.
This is where the importance of using proper image optimization techniques comes into play. It’s the process of reducing the file size of your images as much as possible without sacrificing too much visual quality, and then ensuring they are delivered to the user in the most efficient way possible. In a mobile-first market like Cameroon, where data costs and network speed are real considerations for users, a fast-loading website isn’t a luxury; it’s a necessity. A slow site doesn’t just annoy visitors; it actively drives them away and hurts your ranking on Google.
The good news is that you don’t need to be a web development expert to master the basics. This guide will walk you through the most effective image optimization techniques, from simple pre-upload steps to more advanced strategies you can implement on your site. By putting these practices into place, you will create a better experience for your users, improve your SEO, and ultimately, drive more business.
1. Why Image Optimization is Critical in Cameroon
Before diving into the “how,” it’s vital to understand why this topic is so crucial for the Cameroonian context. The challenges and user behaviors here are different from those in markets with universal high-speed internet.
- Mobile-First Audience: The vast majority of Cameroonians access the internet on their smartphones. This means your website’s performance on a mobile device is what matters most. Images that load slowly on a desktop will be even more frustrating on a mobile screen.
- Variable Network Speeds: While 4G and even 5G are available in major cities like Douala and Yaoundé, internet quality can vary greatly across different regions and networks. Your website must be light enough to load quickly even on a less-than-perfect connection.
- Data Consumption: Mobile data is a valuable commodity for many users. A website filled with heavy, unoptimized images consumes more of a user’s data plan. A “light” website respects the user’s data and is more likely to be browsed for longer.
- Google’s Ranking Factors: Google knows that users hate slow websites. That is why site speed, particularly on mobile, is a significant ranking factor. A faster website will generally rank higher in search results, making it easier for new customers to find you. The Core Web Vitals metrics, which Google uses to measure user experience, are heavily influenced by how quickly your images load.
Failing to apply proper image optimization techniques means you are likely losing customers before they even see what you have to offer.
2. Pre-Upload Essentials: Getting Your Images Ready
The most important work happens before you even upload an image to your website. Getting into the habit of performing these two simple steps for every image will solve 80% of your speed problems.
Strategy 1: Resize Your Images to the Correct Dimensions (Right-Sizing)
This is the single most common mistake business owners make. They take a beautiful photo with a modern smartphone, which might be 4000 pixels wide, and upload it directly to their website. Then, on the webpage, they display it in a space that is only 800 pixels wide. While the image looks the right size on the screen, the user’s browser has to download the entire, massive 4000-pixel file first. This is incredibly inefficient.
“Right-sizing” means resizing your image’s dimensions to be no larger than the maximum size at which it will be displayed on your site.
- How to Determine the Right Size: Use your browser’s “Inspect” tool (right-click on an image on your site and select “Inspect”) to see the dimensions of the image container. If your blog’s main content area is 750 pixels wide, your blog post images should be no wider than 750 pixels.
- Tools for Resizing: You don’t need expensive software.
-
- On Windows: The built-in Paint app can easily resize images.
- On Mac: The Preview app allows for simple image resizing.
- Free Online Tools: Websites like Canva or iloveimg.com provide free and easy-to-use resizing tools.
Making this one change can reduce an image’s file size from several megabytes (MB) down to a few hundred kilobytes (KB) before you even get to compression.
Strategy 2: Compress Your Images
After you have resized your image to the correct dimensions, the next step is compression. Compression is the process of using algorithms to remove redundant or unnecessary data from the image file, making it smaller. There are two types:
- Lossless Compression: Reduces file size with zero loss in quality. It’s great, but the file size reduction is often minimal.
- Lossy Compression: Intelligently removes parts of the image data that the human eye is least likely to notice. This results in a much greater reduction in file size, with a very small, often unnoticeable, drop in quality. For most website use cases, lossy compression is the way to go.
Tools for Compression:
This is another area where excellent free tools are available.
- TinyPNG / TinyJPG: This is a fantastic and popular online tool. You simply drag and drop your resized image, and it will apply powerful compression, often reducing the file size by 50-80% more.
- Squoosh: An powerful web app from Google that gives you more advanced control, allowing you to preview the quality changes in real-time as you adjust the compression level.
Your Pre-Upload Workflow Should Be:
- Take your original, high-quality photo.
- Resize it to the correct dimensions for your website.
- Run the resized image through a compression tool like TinyPNG.
- Upload the final, optimized image to your website.
This two-step process is one of the most fundamental and impactful image optimization techniques you can master.
3. Choosing the Right File Format
Not all image files are created equal. The format you choose can have a big impact on both quality and file size. The three main formats you’ll encounter are JPEG, PNG, and WebP.
- JPEG (or .jpg): This is the best choice for photographs and images with lots of colors and gradients. It offers excellent lossy compression, allowing for a great balance between file size and quality. Most of the photos on your website should probably be JPEGs.
- PNG (or .png): This is the best format for simple graphics, logos, icons, and any image that requires a transparent background. PNG uses lossless compression, so for complex photographs, PNG files are often much larger than their JPEG counterparts. Use PNG only when you need transparency or for very simple graphics.
- WebP: This is a modern image format developed by Google. WebP offers both lossy and lossless compression that is superior to both JPEG and PNG, meaning it can create smaller file sizes at the same level of quality. It also supports transparency. Most modern browsers now fully support WebP, and many WordPress plugins can automatically convert your JPEGs and PNGs to WebP and serve them to users whose browsers are compatible. Adopting WebP is an advanced but highly effective part of a modern set of image optimization techniques.
4. On-Site Optimization: Improving Delivery and SEO
Once your images are properly sized and compressed, there are still several things you can do on your website itself to improve performance and help your SEO.
Strategy 4: Leverage Browser Caching
When a user visits your site, their browser downloads all the images. Browser caching is a way of telling the user’s browser to save a copy of these images on their device. When they visit another page on your site or come back later, the browser can load the images from its local storage instead of downloading them again. This makes navigating your site much faster for repeat visitors.
For WordPress sites, caching plugins like W3 Total Cache or WP Rocket can easily enable browser caching with just a few clicks.
Strategy 5: Implement Lazy Loading
By default, a web browser tries to load all the images on a page at once, including the ones at the very bottom that the user can’t even see yet. This can make the initial loading of the page very slow.
Lazy loading is a technique that tells the browser to only load the images that are currently visible on the user’s screen. As the user scrolls down the page, the images further down are loaded just before they come into view. This dramatically improves the initial page load speed, which is critical for both user experience and Core Web Vitals.
Since WordPress 5.5, lazy loading is now a default feature. However, many performance plugins offer more advanced lazy loading options that can provide even better results. This is one of the most powerful automated image optimization techniques available today.
Strategy 6: Use a Content Delivery Network (CDN)

A CDN is a network of servers located all around the world. A CDN service will store copies of your website’s static files (including your images) on these servers. When a user in Cameroon visits your site, the images are delivered from the server that is geographically closest to them, rather than from your main server which might be in Europe or America. This reduction in physical distance can significantly speed up download times. Services like Cloudflare offer a free CDN plan that is highly effective and a great starting point for any Cameroonian business.
5. Image SEO: Getting Found on Google
Image optimization is not just about speed; it’s also about making your content more understandable to search engines. Google can’t “see” an image the way a human can. You need to provide textual clues to help it understand what your image is about. This can drive significant traffic to your site through Google Images search. These SEO-focused image optimization techniques are essential for visibility.
Strategy 7: Use Descriptive File Names
Before you upload your image, give it a descriptive, keyword-rich file name. Don’t upload an image named IMG_20251106.jpg. Instead, name it based on what it depicts.
- Bad:
DC_00123.jpg - Good:
handmade-leather-sandals-douala.jpg - Bad:
photo1.png - Good:
logo-cameroon-tech-solutions.png
This simple step gives Google an immediate and powerful clue about the image’s content.
Strategy 8: Write Meaningful Alt Text
Alt text (or alternative text) is a short, written description of an image that you add in the HTML code. It has two primary purposes:
- Accessibility: For visually impaired users who use screen readers, the alt text is read aloud, allowing them to understand the content of the image. This is crucial for making your website accessible to everyone.
- SEO: For search engines, the alt text serves as a description of the image, providing context and helping it to rank in image search.
Best Practices for Alt Text:
- Be Descriptive and Specific: Describe what is actually in the image.
- Keep it Concise: Aim for under 125 characters.
- Incorporate Your Keyword (Naturally): If it makes sense, include your target keyword. Don’t “stuff” keywords where they don’t belong.
- Don’t Start With “Image of…” or “Picture of…”: It’s redundant, as search engines and screen readers already know it’s an image.
Example:
For an image of a woman holding a handmade bag on a beach in Kribi:
- Bad Alt Text:
bag - Okay Alt Text:
woman holding a bag on the beach - Good Alt Text:
Woman holding a colorful handmade tote bag on the beach in Kribi, Cameroon.
In WordPress, you can easily add alt text in the media library or when you insert an image into a post or page. Consistently applying these on-page SEO image optimization techniques can lead to a noticeable increase in organic traffic.
A Quick-Reference Checklist for Your Images
Feeling a bit overwhelmed? Here’s a simple checklist to follow for every image you add to your site.
- [ ] Is the image sized correctly? (Resized to the max display dimensions)
- [ ] Is the image compressed? (Run through a tool like TinyPNG)
- [ ] Is it in the right file format? (JPEG for photos, PNG for graphics/transparency)
- [ ] Does it have a descriptive file name? (e.g.,
my-product-name.jpg) - [ ] Does it have meaningful alt text?
- [ ] Is lazy loading enabled on my site?
- [ ] Am I using a caching plugin and/or a CDN?
By consistently checking these boxes, you will be well on your way to a perfectly optimized website.
A Faster Website is a More Successful Website
You cannot afford to have a slow website. Your images play one of the biggest roles in your site’s performance. By adopting this comprehensive set of image optimization techniques, you are doing more than just making your site faster. You are creating a more welcoming experience for your visitors, showing respect for their time and data, and making your business more visible to the powerful search engines that can bring you a steady stream of new customers.
Don’t let your beautiful images hold your website back. Start implementing these strategies today. Begin with the new images you upload, and when you have time, go back and optimize the most important existing images on your site, like those on your homepage and popular product pages. Every kilobyte you save is a step toward a better, more successful online presence.
What is the first image optimization technique you plan to try on your website? Share your next step or ask a question in the comments below